The chair’s frame is assembled without any nails and is instead held together with mortise and tenon joinery.
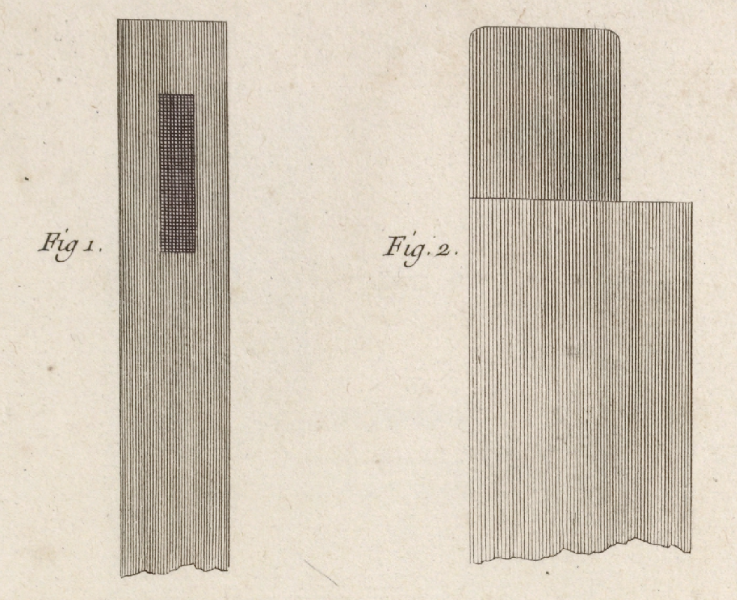
“Plate 8. Outils, propres a refendre et a débiter, le bois.” from L’Art du Menuiserie, wtr. Roubo, André Jacob engr. Berthault, Pierre Gabriel. New York Public Library Digital Collections. Accessed December 13, 2016.
The mortise (figure 1) above, is a rectangular hole that corresponds exactly in width, thickness, and depth to the tenon (figure 2) which is inserted into the mortise. The result is an exceptionally strong and durable joint.

Photos: Avi Schwarzchild
To begin, double lines are scribed with a marking gauge to outline the tenon (left). The marking gauge is also used to outline the walls of the mortise (right).
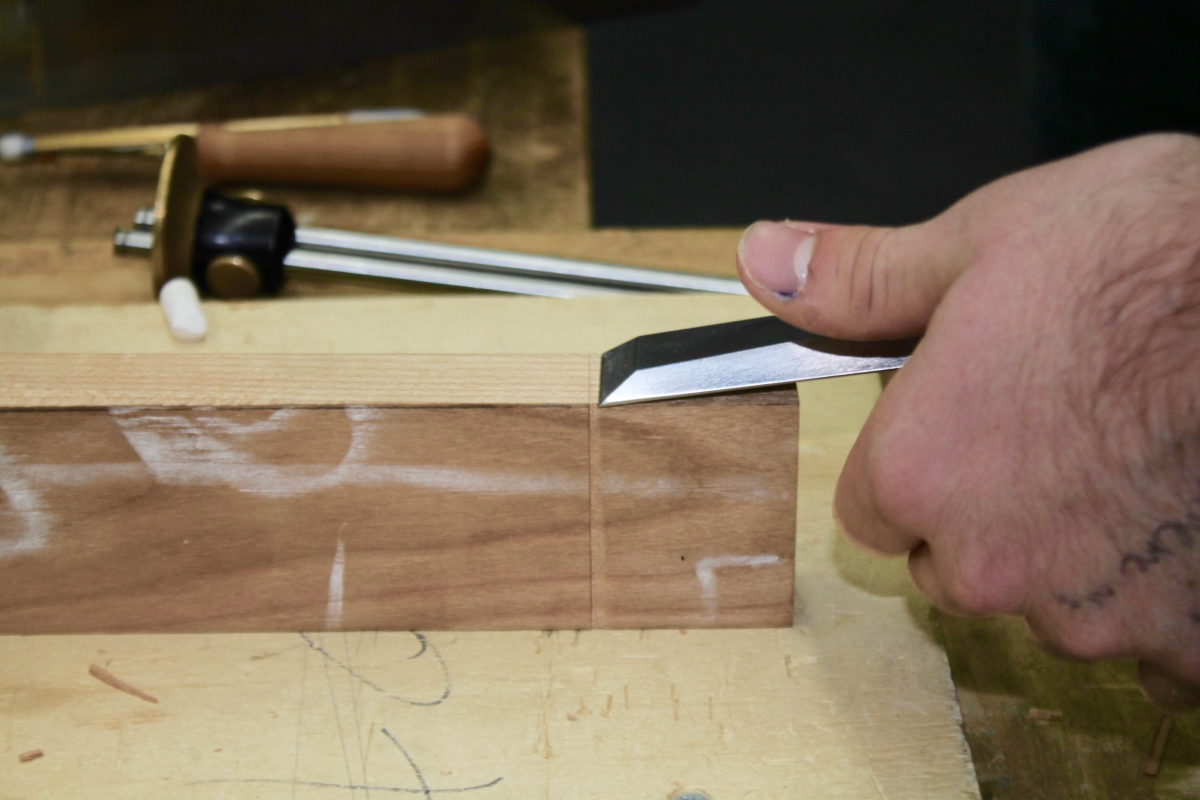
Photo: Avi Schwarzchild
A bench chisel works around the soon-to-be tenon, creating small valleys by slicing-up to each scribe line. This will help with the sawing.
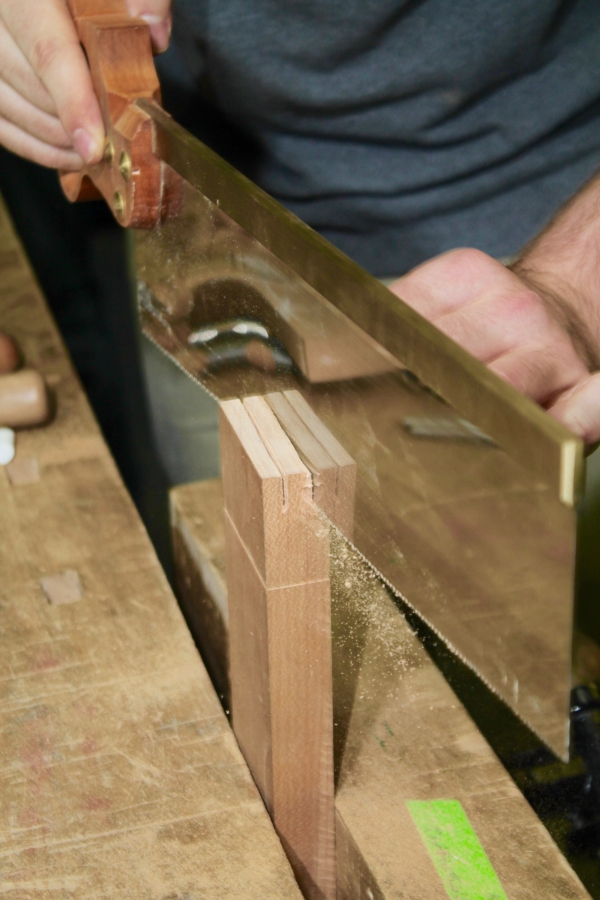
Photo: Avi Schwarzchild
The tenon begins to take shape as its sides (called cheeks) are sawn away with a carcass saw along the scribe lines.
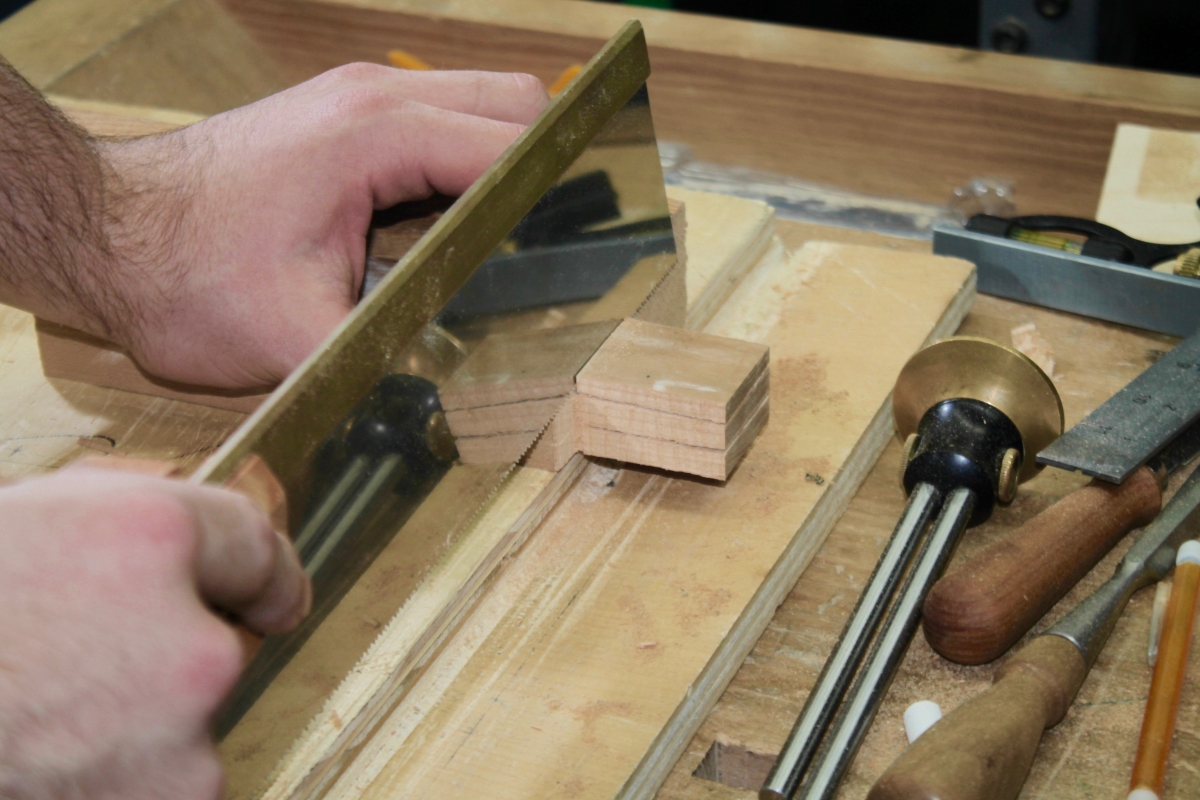
Photo: Avi Schwarzchild
The excess wood is sawn away along the valleys made earlier with the bench chisel.
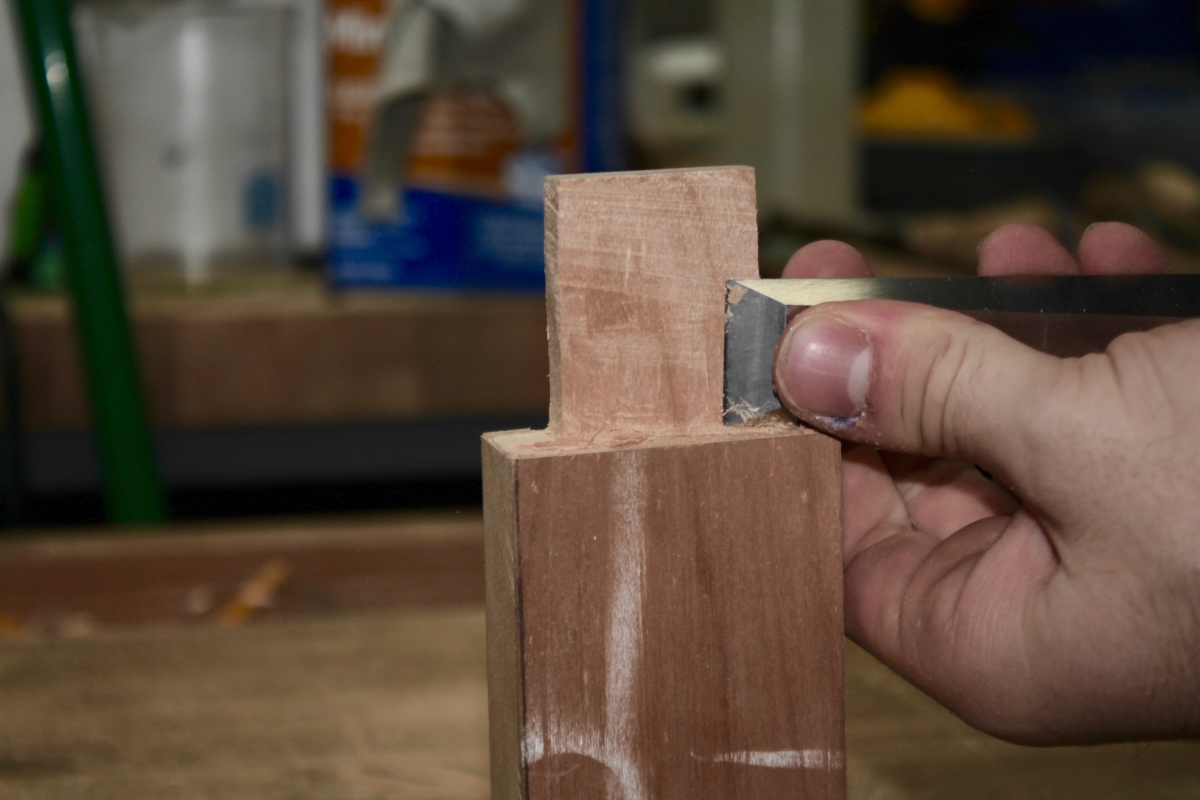
Photo: Avi Schwarzchild
The cheeks of the tenon are further refined with a wide bench chisel. This cleans-up the saw marks and brings the tenon to its final thickness.
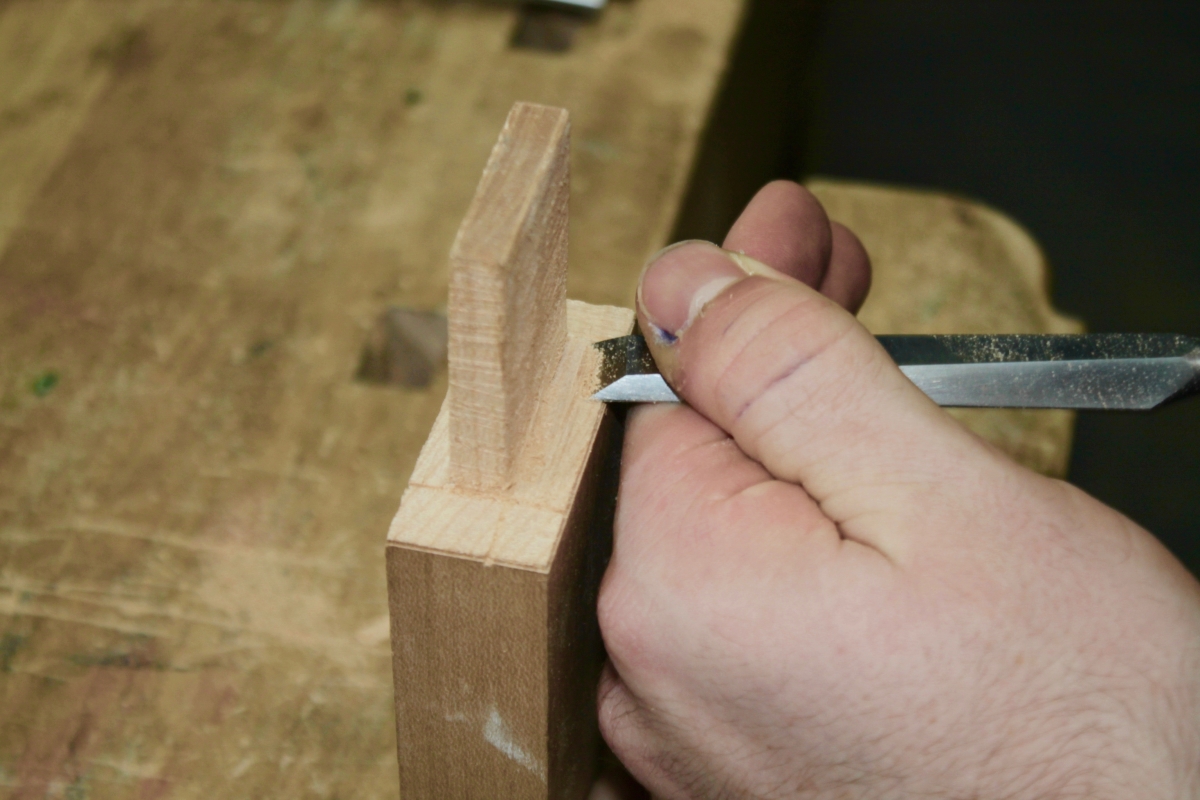
Photo: Avi Schwarzchild
Excess wood along the tenon’s base (called a shoulder) is sliced away with a narrower bench chisel.
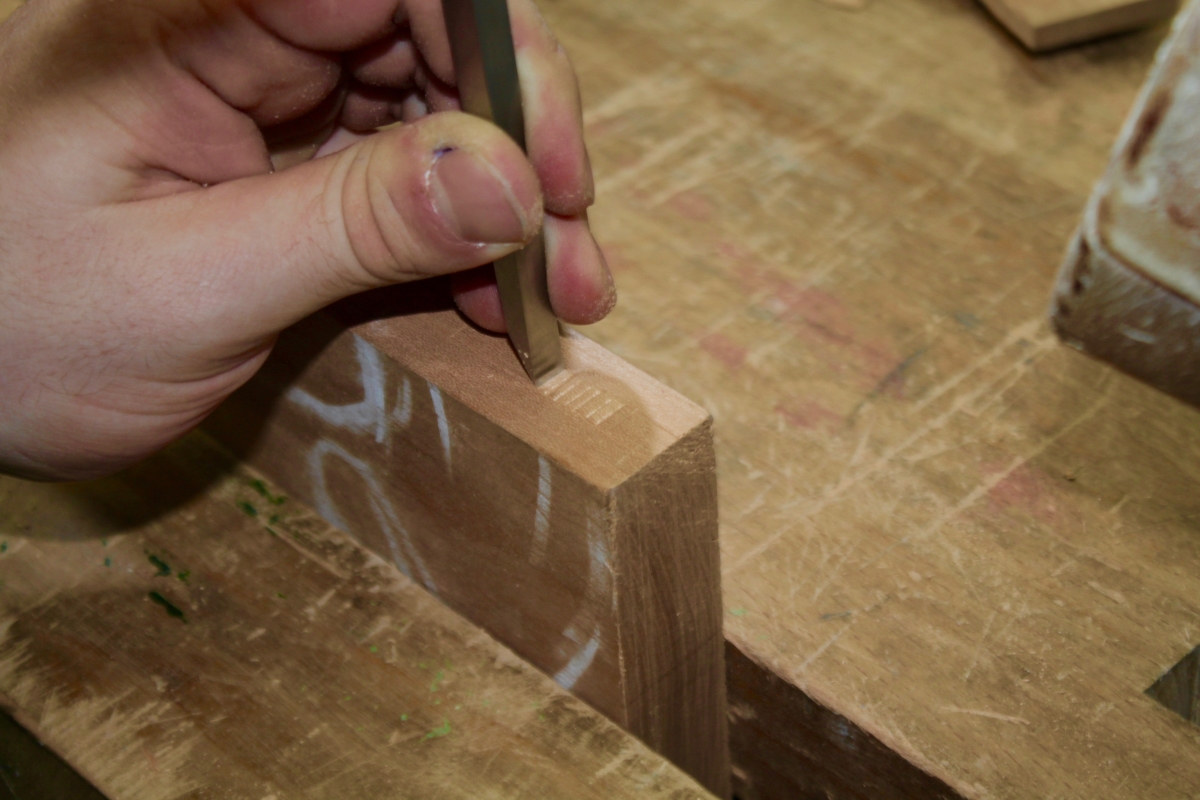
Photo: Avi Schwarzchild
Now we turn to the mortise. Small slices are made along the scribed-out mortise’s length using a square bodied mortising chisel. This helps to guide the chisel as the mortise continues to be chopped-out.
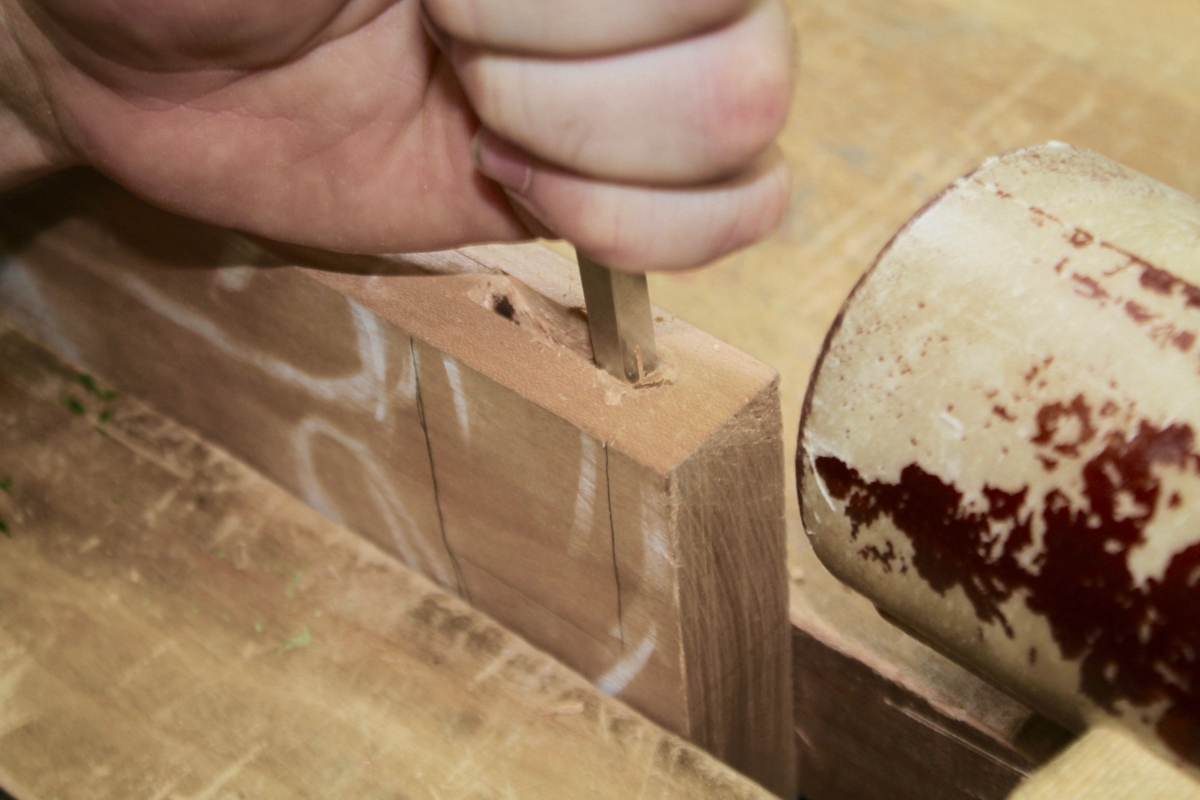
Photo: Avi Schwarzchild
Using a mallet, the chisel is pounded into the mortise. The chisel is used as a lever to pry-out chunks of wood and produce a square void. This process is repeated until the desired depth is achieved.
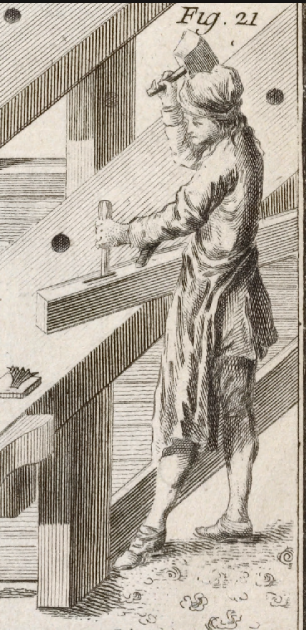
“Plate 17. Outils propres a faires les assemblages et la maniere de s’en servir.” from L’Art du Menuiserie, wtr. Roubo, André Jacob engr. Berthault, Pierre Gabriel. New York Public Library Digital Collections. Accessed December 13, 2016.
An 18th century menuisier chops a mortise.

Photos: Avi Schwarzchild
The finished mortise and tenon unassembled (left) and assembled (right).
Previous: Preparing the Lumber Next: Shaping the Pieces